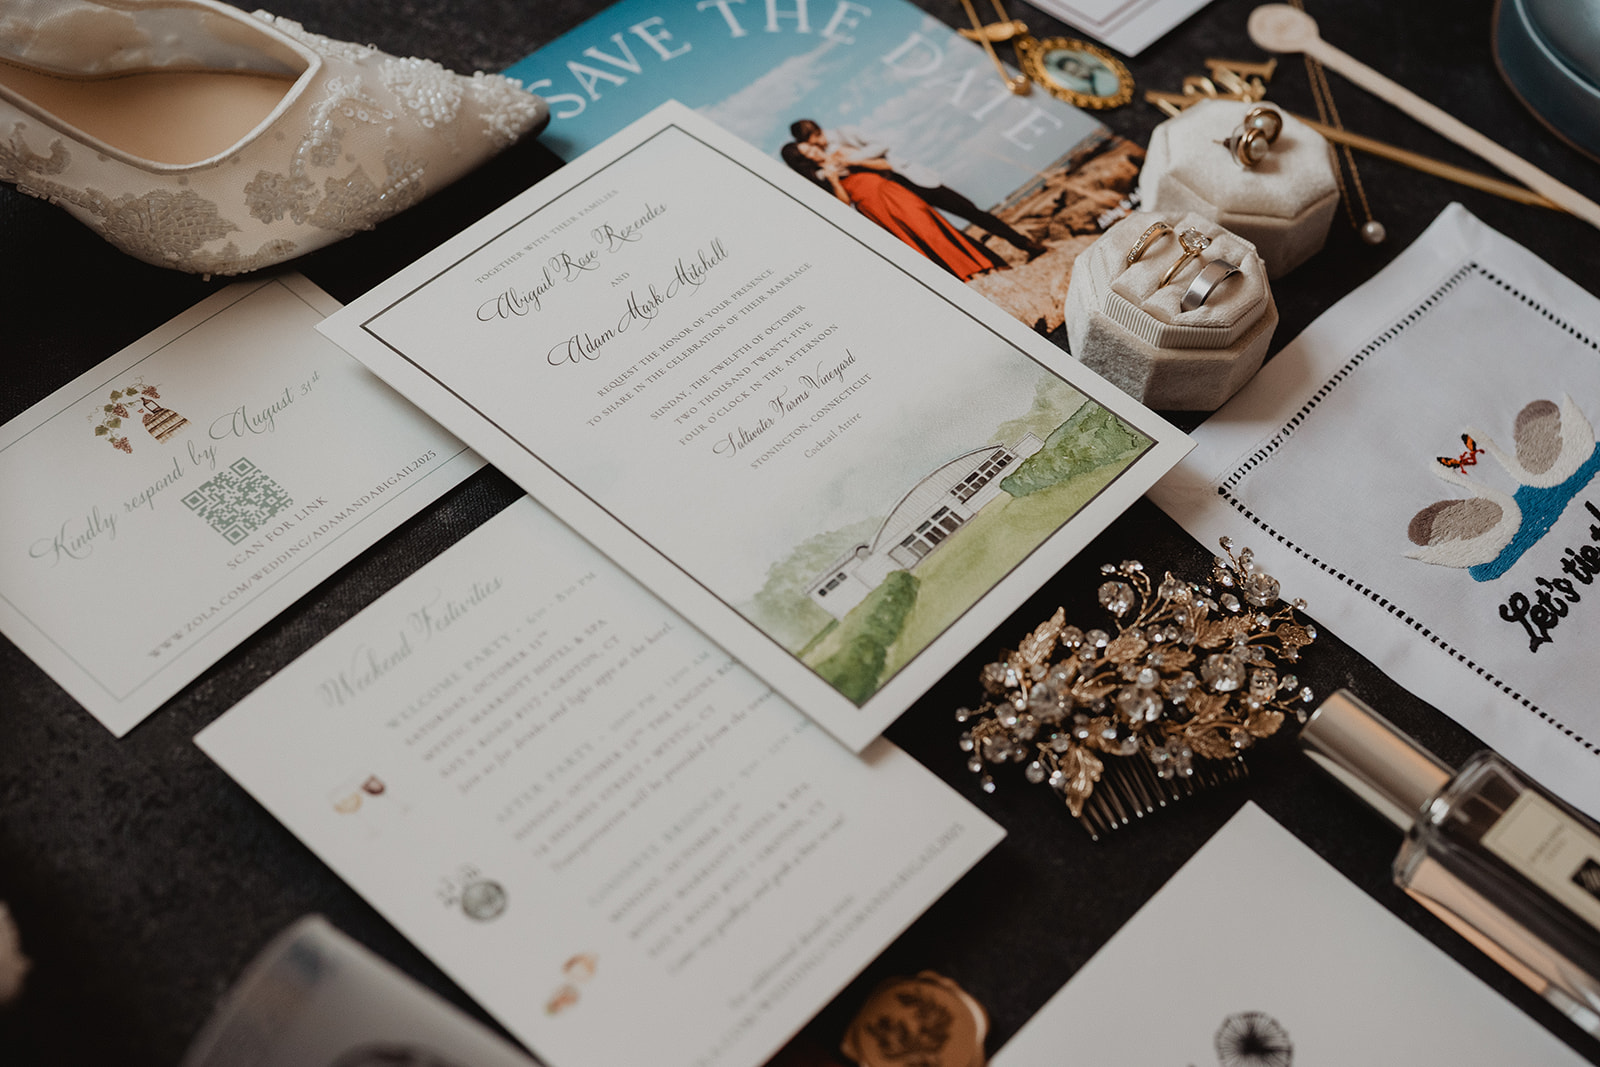
Your Complete Guide to Wedding Invitation Mailing
Everything you need to prepare guest addresses, return addresses, and international mail for your wedding invitations—with examples, tips, and a ready-to-use template.
Getting started on your address collection is one of the biggest tips I can give newly engaged couples as it often takes longer than you think and can be a bit challenging.
1: Gather – and Double-Check – Guest Information
Your invitations set the tone for your wedding, so accuracy is key! A small mistake—like a missing apartment number or a misspelled name—can delay delivery.
Accurate information is key to ensuring your envelopes are printed perfectly. Once your list is submitted, we’ll print your envelopes exactly as provided. Because we don’t know your guests personally, we aren’t able to edit or adjust names, titles, or addresses.
There are so many unique ways couples prefer their lists formatted—what might look like a typo to one person could be an intentional choice for another! So please take a few extra minutes to carefully review your list before sending it over.
Tips for accuracy:
- Review each name and address carefully.
- Have your fiancé or a trusted family member double-check.
- Keep your final list as a reference for future family events—it’s invaluable!
Pro tip: Accuracy at this stage saves time and stress down the road. Having to reprint envelopes or re-send invitations can get costly and overwhelming.
2: Format Your Mailing List
Using Excel or Google Sheets makes formatting envelopes easy. Place each piece of information in its own column for clarity. Make sure you write out full Street names including Street, Boulevard, Road, Avenue, etc. Also type out state names and things like Apartment, Unit, Floor, etc.
Spreadsheet structure:
| Column | What to Include | Example |
| 1 | Envelope Name | Mr. and Mrs. John Williams |
| 2 | Address Line 1 | 123 Main Street |
| 3 | Address Line 2 | Apartment 4B |
| 4 | City | Newport |
| 5 | State | Rhode Island |
| 6 | Zip Code | 02840 |
| 7 | Country | United States |
Tip: Download the “Master Mailing List Template” here! – a ready-to-use Google Sheet to simplify the process.
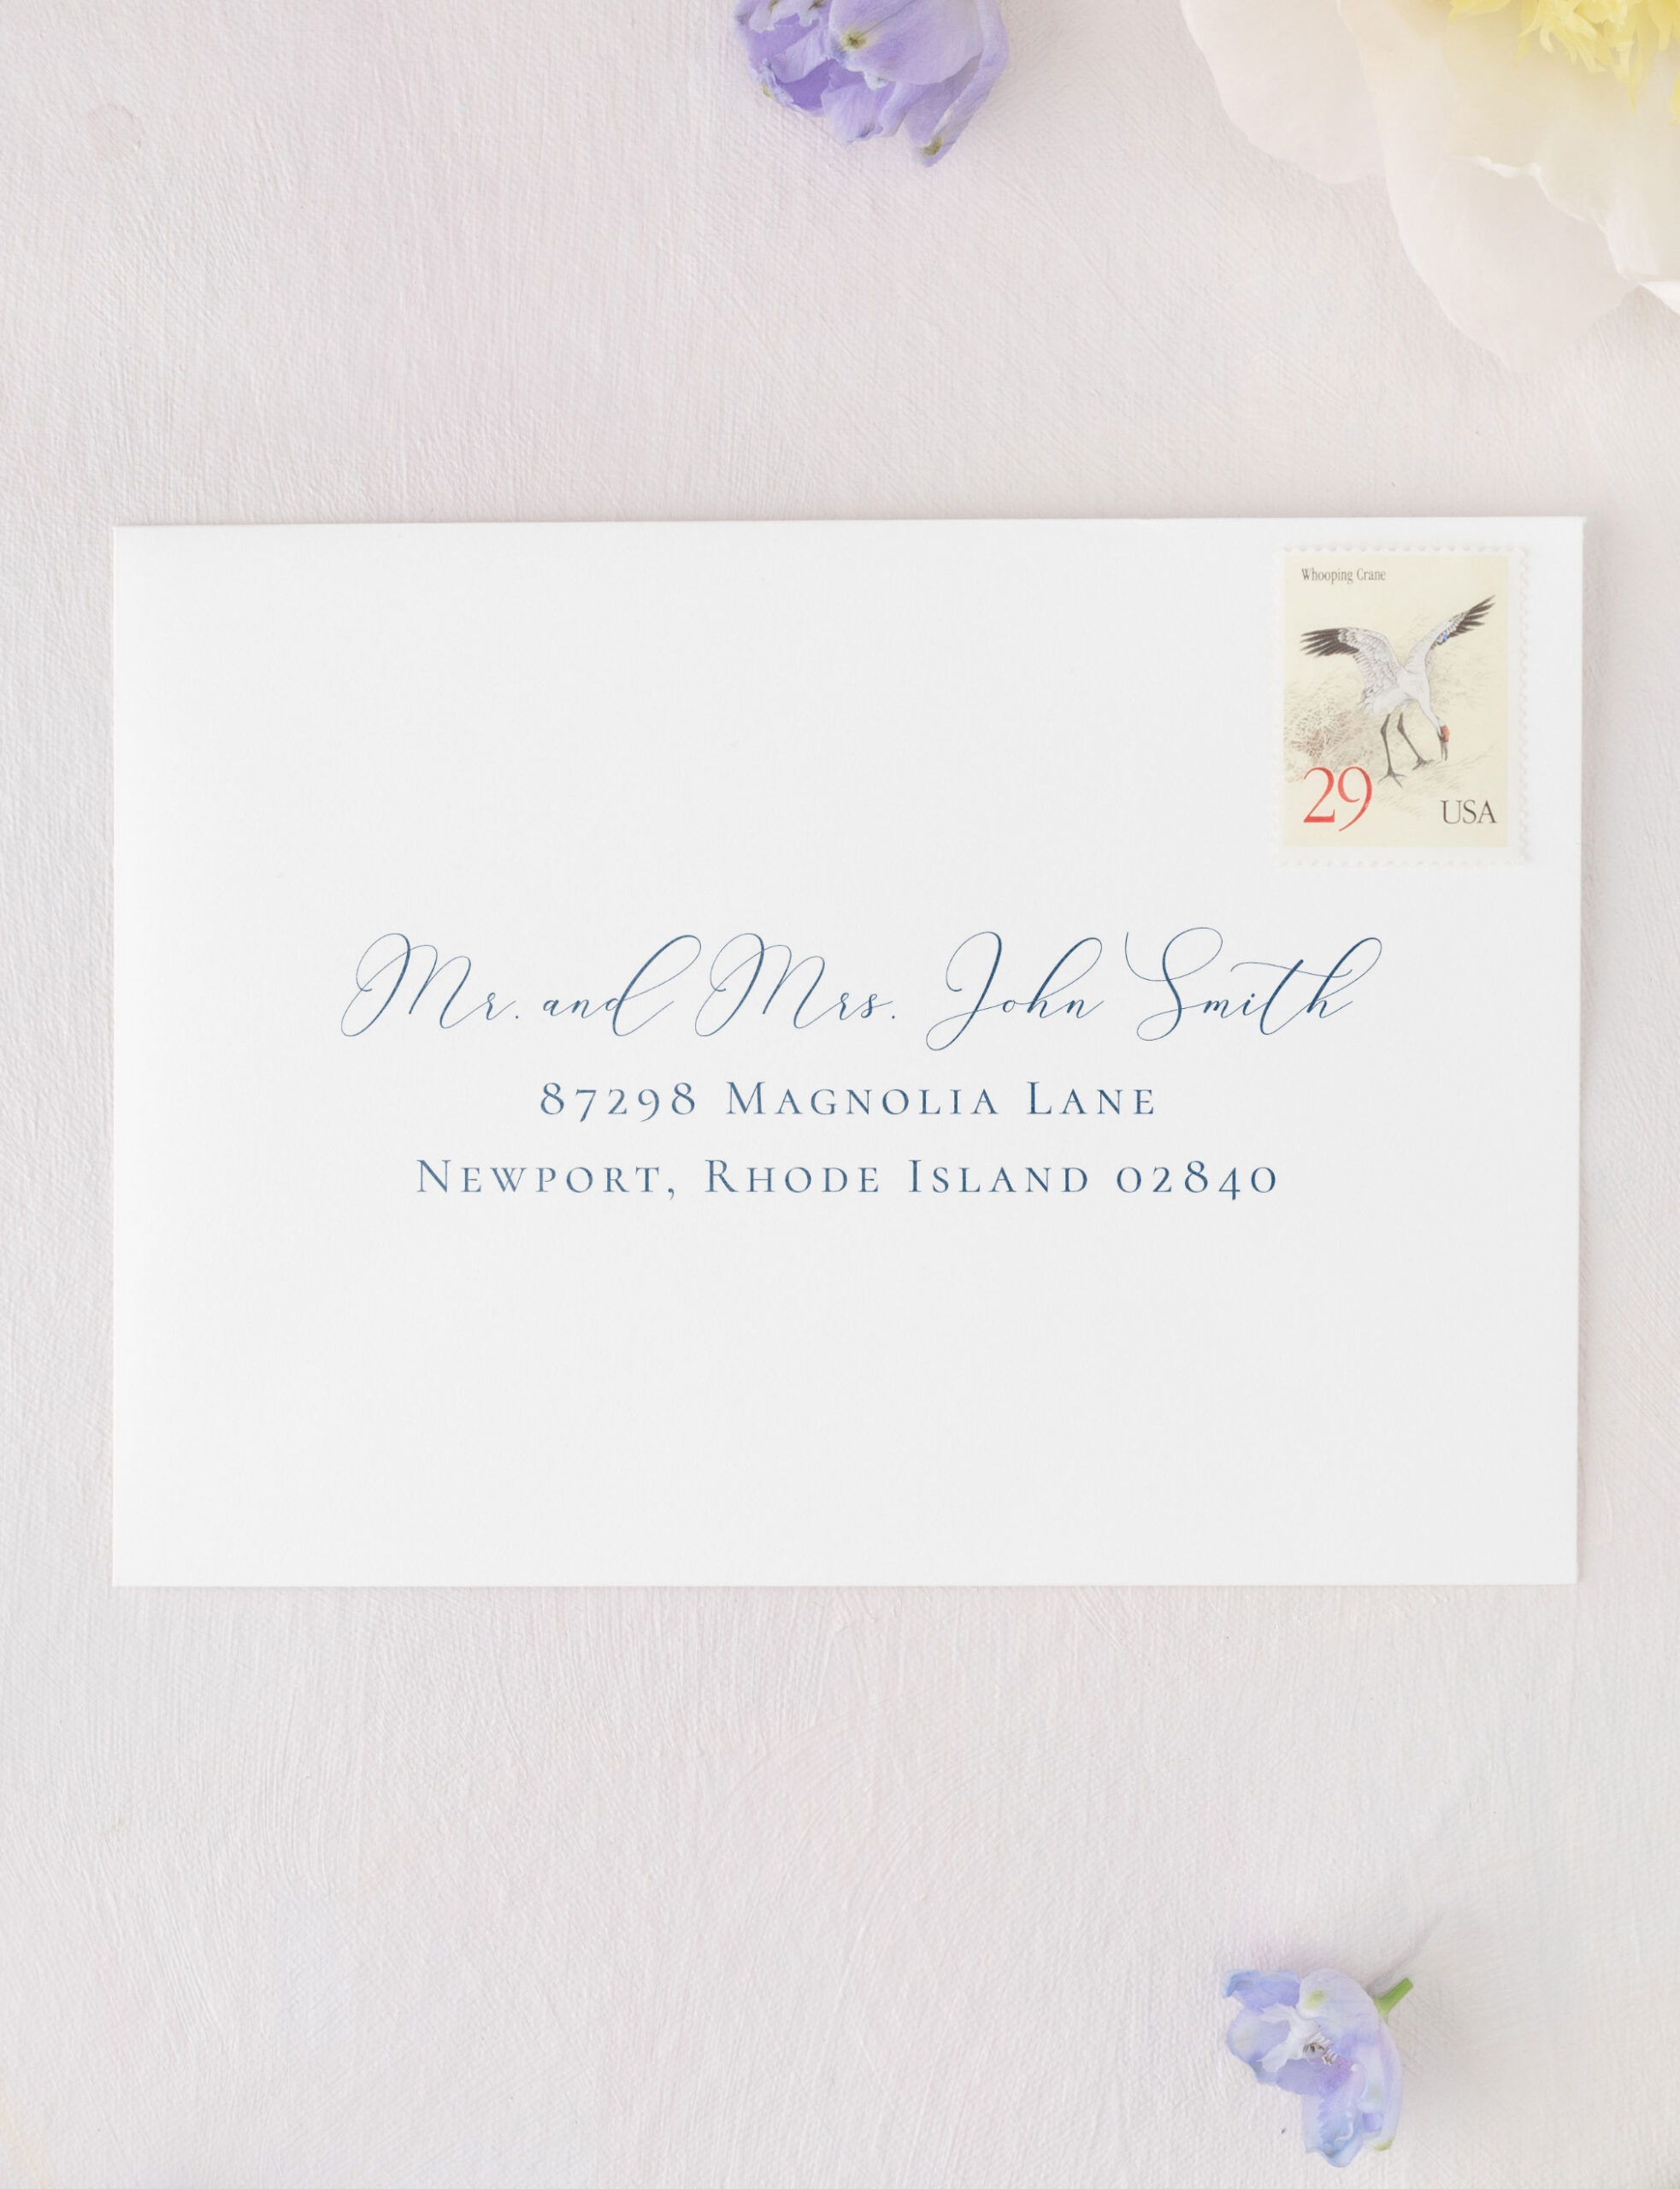
3: Etiquette Considerations
Formality:
Your envelope style sets the tone: formal, casual, or somewhere in between.
Formal: Use titles and full names:
Mr. and Mrs. John Williams
Casual: Keep it simple and personal:
John and Jane Williams
The Williams Family (includes all household members, including children)
Tip: Focus on clarity. Correct spelling and consistent formatting are more important than rigid formality. These days etiquette is more relaxed, doing what works for you and your family is the most important!
Who is Invited:
The envelope should clearly reflect who is invited to the wedding. This is the traditional and most courteous way to indicate guests—especially when it comes to children and plus ones.
If you’re inviting a single guest with the option to bring someone, include “and guest” after their name. For families, list the children’s names on the envelope as well—for example: John and Jane Williams, Zoe and Quinn.
4: Tips to keep in mind
Abbreviations: I recommend spelling out all parts of the address (Street, Road, Apartment, Unit, etc and of course the state). However if you prefer to not have items spelled out you can submit your file with abbreviations. Just know we will be printing them as provided. If you would prefer me to amend your excel sheet to remove all abbreviations I can do that for an additional cost.
Extra Spaces: Extra spaces, especially at the beginning of a cell can cause havoc on the mail merge and affect how items are formatted. Please run through your list and look for those sneaky extra spaces.
Keep Separate Columns: Keep each detail right where it belongs in the spreadsheet—this helps your addresses print beautifully and in the right order. And don’t forget to list apartment numbers separately from the street address to keep everything perfectly aligned.
Northeast Zip Codes: Most Northeastern states have zip codes that begin with a “0.” While the linked spreadsheet is already formatted to include those leading zeros, if you’re creating your own version, please double-check that they’re not dropping off. You may need to set a custom rule or formatting option for that column to ensure the zeros stay put.
5: Return Addresses
Return addresses ensure undeliverable invitations make it back to you.
Placement options:
- Flap (classic and discreet) – Recommended
- Top left corner (easy to read) – Design aesthetic isn’t as nice
Style tips:
- Printed addresses: clean and uniform
- Handwritten addresses: personal and charming
Tip: Match your envelope font for a cohesive look across your stationery.
6: International Mailing Tips
Sending invitations overseas? Plan ahead!
- Include Country in its own column in your spreadsheet.
- Check postage requirements—some envelopes need extra stamps.
- Spell out addresses fully to avoid confusion in foreign postal systems.
- Allow extra delivery time (2–6 weeks depending on the destination).
Tip: Include a return address in the same format, so international mail can be returned to you if needed.
7: Examples and Screenshots
Here’s a quick snapshot of what your Google Sheet can look like:
| Envelope Name | Address Line 1 | Address Line 2 | City | State | Zip | Country |
| Mr. & Mrs. John Smith | 123 Main Street | Apartment 4B | Newport | Rhode Island | 02840 | USA |
| Jane & Mark Lee | 456 Ocean Avenue | Boston | Massachusetts | 02118 | USA |
Tip: Notice how each detail has its own column. This keeps addresses clean, organized, and ready for printing.
8: Download Your Master Mailing List Template
To make your life even easier, download our Google Sheets template here. It’s fully set up with all columns labeled and ready to fill in with your guest information. Zip codes are set up to keep those “0s” and there are some example layouts to get you started.
Final Thoughts
Taking the time to create a clean, accurate mailing list ensures your invitations look beautiful and reach every guest on time.
From guest information to return addresses and international postage, a little organization goes a long way in keeping your stationery process smooth and stress-free.
With your mailing list ready and your details double-checked, you can sit back and enjoy seeing your invitations come to life—knowing every piece is prepared perfectly for your big day.
And a well done address list will serve you for years to come!!
Leave a Reply

About Kate
newport stationer

Hello! I'm a Rhode Island stationery designer here to help you introduce your best day ever to your most special people, highlight your relationships and feature your personality and vision through thoughtfully designed wedding stationery.
More About me
Explore
Recent Posts
Ready to work together?
Please note that I do only take a certain number of weddings per date. Your date will be secured when your proposal is accepted and payment is received. Please reach out to see if your date is available or if you'd just like to gather some more information!
contact us


Leave a Comment